Showing posts with label Import. Show all posts

Sunday, August 16, 2020

My Rusty Beater: Update #3

 Replaced oil pan

My beater was starting to drip some fluid in my driveway, I believed it to be oil (another candidate would be P.S. fluid).

Click here for my original post on this car.
Click here for update #1 on this car.
Click here for update #2...

The oil pan was original to the car and was wet with oil, and quite corroded. Of course oil can get blown around from driving, and it can be hard to locate the source of a leak. The plan was to clean oil and grime from the block, replace the pan and gasket, and monitor for anymore fluid to appear. I bought a new pan off of Ebay for $26, it came with a cheap gasket. I also got a tube of Hondabond HT (a hi-temp RTV) for $12. After some consideration, I decided to get a Fel-Pro brand gasket ($25) rather than go with the cheapie I already had.


Old and new oil pan


Exhaust flex-pipe already taken off. Removing the aluminum shield for the flex-plate, transmission side, to get at all the oil pan bolts.


The Honda factory does not use a gasket. They apply a bead of hondabond all the way around and torque to spec. No doubt that is cheaper than installing a gasket. The heads of the bolts on the pan were quite rusted, but I managed to get them all off, then use a pry bar to separate the pan, from the block.

Except: there are 2 studs with nuts used in the center of the pan, front and back. ( no doubt to guide the pan on without sliding it around on wet RTV. this is a photo of the surviving one. The other (the front one) would not budge, and by the end, I had rounded the nut pretty good. So I decided to cut it off, remove the pan, drill it out, clean the threads, and replace with a bolt


Old pan off, you can see the oil pick-up and the flex plate


Ready to drill out this frozen stud, and replace with a bolt.


Only big mishap:
While I was drilling it out, I snapped off my titanium coated drill bit, inside the stud.
This was the face I made....


Now I had to pretend this fastener didn't exist.
I put a bead of Hondabond across the span, where the missing stud was, on both the top, and bottom, of the gasket. I tightened all pan bolts to 100 inch pounds (roughly spec). I also had to modify my tightening sequence, as the busted fastener was #2 out of 18. I then let it cure for 3 days. It seems to be working so far.

A side note: I actually took my angle grinder and removed some material from the inside of the aluminum shield that straddles the pan, because the thickness of the gasket threw off fitment. I tightened the shield bolts to 20 ft. lbs. as the receiving threads of the transmission housing were aluminum, (guessed on this, don't know the factory spec).


Fel-Pro gasket, pan, and a tube of Hondabond HT


the white shape in the center is Hondabond forced out the hole in the pan where a bolt should be.


Finished product - new oil pan installed 


Cost of parts for this job

Oil pan - $26
Fel-Pro gasket - $25
Hondabond - $12
hardware - $8?
Total - $71


Just some Tool Porn

My favorite drawer: socket drives, extensions, adapters, breaker bars, and cheater pipes.


Sunday, July 26, 2020

My Rusty Beater: Update #2

Replaced: dented front fender, hood latch, headlights


In order to replace the fender, the following needed to be removed: front bumper cover, one headlight, and the right rocker panel. Here was a "kill 3 birds with one stone" situation.


Old parts off, ready for new


Fender

When I bought this car, it had a dented front, right fender. It had always been my plan to replace it. So I finally bought a new, primed fender from Ebay for $57. It showed up with a few small dents in it. I complained to the seller, and since they did not have another in stock, they refunded my money, and said "keep it"...not asking for it back. I decided to still use it, as they were small dents, and it was an improvement over what was on the car. I painted it with rattle-can, gloss black rustoleum ($7) and it looked fine. I also painted the grill, satin black. Which after 20 years, was simply faded, unpainted plastic.


Dented fender, before and after


Hood Latch

Since the bumper cover was coming off, I replaced the hood latch, ($28) which has a contact switch, and electrical connector. This tells the computer that the hood is closed, and allows the car alarm to be armed. Since the old one was very dirty, and gummed up, it was not telling the computer that the hood was closed, So I could lock the car with my fob, but not set the alarm. The latch was easy enough to access, with the bumper cover off. The new part fixed it. Now... when locking/unlocking with the fob, the parking lights flash, indicating that the alarm is working.


New and old hood latch


Headlights

Since I had to remove one headlight anyway, I decided to get a new aftermarket set from Ebay for $75. I had originally restored my headlights, but even so.... these looked better, being new. I also added a bead of silicone caulk ($4) around the housing/lens union, as this was chinese made, and I decided to take charge of quality control, to prevent the occurrence of condensation.


The brand new headlights, seen with the patina paint, contrast nicely IMO


Total cost of parts in this post - $121

Coming up next: Oil pan and flexpipe


Friday, April 7, 2017

In My Garage: 2005 Scion xB


Love at first sight

This is my 2005 Scion xB. I think I came across the first images of it online in early 2004. By the summer, I knew I had to own one. It was the clean geometry and the "function dictates form" look of it. So in August of 2004 I ordered one from Japan. It was an even trade with my 2002 Honda accord EX V6 coupe. They even kicked in an additional $500 check. The total price was $14,668, which included my only option: the rear spoiler. I felt like this car was a good value.

I have the 5 speed manual (very short gears), which wrings the most power out of the 108 hp, 1.5 liter engine. It corners great. The steering feedback is very direct, and the low weight (2400 lbs.) makes it feel nimble, and go-kart like. It gets 34 MPG combined (for the several years I kept track of it.) I've kept this car mostly stock. I wanted it to be as reliable as possible, as this car is basically my daily driver, and my only winter car. Still run the OE battery after 12.5 years. Only 73,554 miles, as of this post.

I bought it at Don Jacobs Toyota in Milwaukee. They had a (now defunct) perk that, if you bought a new car there, they would provide free oil changes, for as long as you owned it. I get them every 6 months. Figure I have gotten $600 worth of value added there, so far.


I took the stock hubcaps off the first day.
Summer setup: stainless trim rings on black steelies.

the only power mod:
An Injen IS2100 Short Ram Intake
$220 parts and labor

Very few mods:

Injen IS2100 Short Ram Intake
AWIA head w/ AUX input
front windows tinted 20% to match the back
4100k headlight bulbs
Bridgestone Blizzak WS-50 snow tires (Thanksgiving to April.)


In early 2008 I got a set of Bridgestone Blizzak WS-50s from TireRack for what seems now like a fire sale price of $45 each, shipped. I then went and bought a used set of steelies off Ebay. After mounting and balancing the whole winter set up cost me a total of $383. I ran the steelies black for a few years, then silver, now Plasti-Dipped white. To me white steelies scream "Rally Car". That's exactly how I treat it, when the snow is coming down.

sporting the snow tire setup

Notice the chunky tread on left compared to the OE tires on right


For a couple years I sported these Camry knock-off hubs.
I though they looked very nice and OE.


I made a custom Hot Wheels version of my car, seen here cruisin' Miami 


I swapped out the factory stereo for an AWIA head with an auxiliary input for iPod then/iPhone now
(this was in fall of '04. Most factory stereos did not come with AUX input back then)
Interior is clean with a little wear and tear as this is my cargo vehicle too.


Gran Turismo 6 version of my xB


Here are some action shots of the virtual dead ringer for my car.
Courtesy of Gran Turismo 6


Time to change up the winter package:

My current winter steelies are starting to rust a fair bit.
So I bought a set of the optional EM-7 alloys on Ebay
($400 new, shipped) that I will plasti-dip white.


My next snow tires: General Altimax Arctics.
They're inexpensive and have very good reviews.
I got these for $59 each shipped.


Conclusion

A small criticism- it would be nice if 5th gear was taller so the revs wouldn't be so high when driving 70+. Only benefit of that is, that you never need to downshift to pass at freeway speeds.
The short wheelbase makes it more of a city car, than freeway cruiser. That said, it has been a good road trip car ( I've taken it out to North Dakota, Kansas, the Smokies, and South Carolina...)

I have nothing but good things to say about the quality of the car, and the job Toyota has done with this model. I've had a few expenses here and there, but all-in-all, excellent reliability.


Click here for my update post on this car.

Wednesday, March 15, 2017

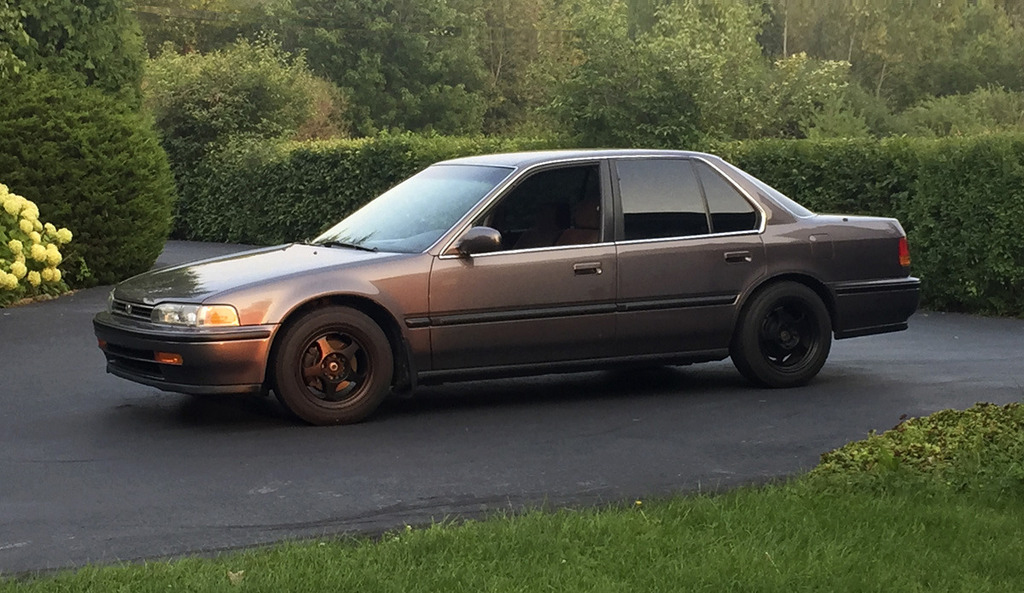
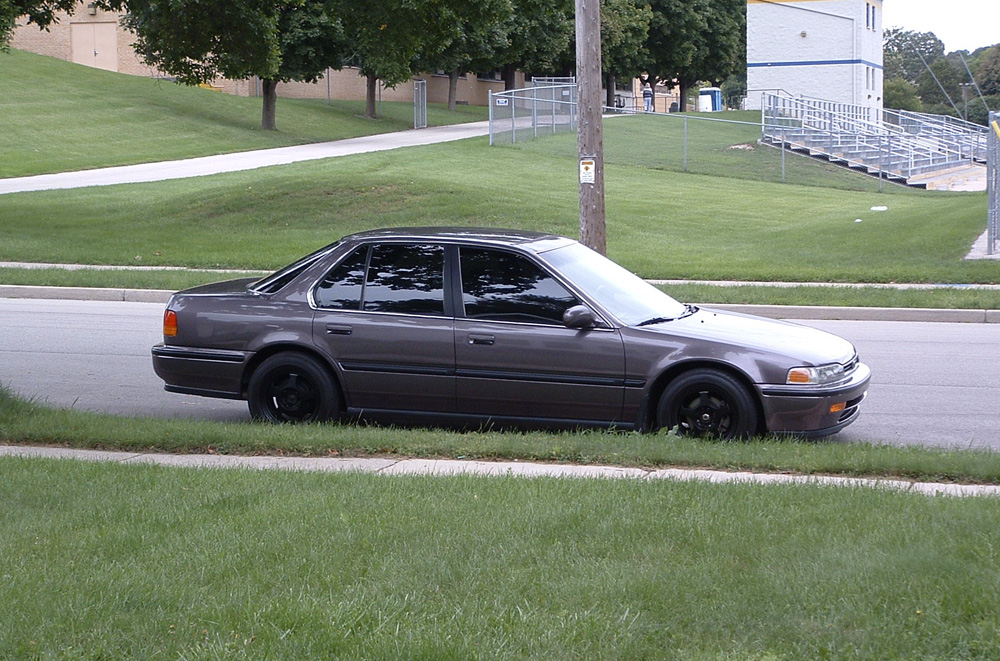
In My Garage: 1992 Honda Accord CB7


A desire... from way back

This is my 1992 Honda Accord. I bought this used car for about $3,000 in august 2004. It was stock. It had 115k on the clock.  I had always liked the 4th generation Accord. As early as 1997-98 when I owned my civic, I remember thinking this was a model car i want to own at some point. The import modding trend was not even in existence yet (in the midwest.)

From 1996-1999, I owned a 1989 civic and when I decided to get rid of it, I knew I wanted  a 4th gen Accord. I went shopping at car dealers in the Northern Virginia area, which was where I was living at the time. I couldn't find any '90-'93 accords. I ended up buying a white 1995 Accord EX sedan. Later I regretted my rush to go with that car, as it wasn't what I really wanted. I ended up trading that car in 2 years later for a brand new, silver, 2002 Accord EX V6 coupe, just before 9-11, paid cash.

Earlier car: My 2002 Accord EX V6 coupe


In 2004, when I bought the '92 accord, I thought I was getting a rust free car. I flew down to North Carolina to buy it. It was a 13-year-old car, with 115K on the odo. Only after driving it back to Wisconsin and taking it to some body shops was it clear that it suffered from the usual rust in the rear wheel wells. This had been covered up with some bondo and paint. I was dumbfounded that someone would go to those lengths to cover up some rust on a Honda. I was pissed! I wasn't sure if I should sell the car and try again, or have both rear quarter panels replaced and painted. After crunching the numbers, it seemed as if it would be a wash.


My CB7 accord in surgery.


So I went ahead and had the body work done. I had the 2 rear quarters replaced, as well as the molding on both sides, the whole car was repainted in the darkest tint of the factory color, and an Accord EX lip put on. This was all done for about $5,500. Which I feel was a good price. Any other body shop may have quoted me about $7,000. This was no Maaco paint job. (that was in 2005 dollars.) I had spent about $8,500 total on a car that you didn't see listed for sale for more than $4,000. However it did look like it was right out of the showroom at this point. This would be my first lesson in cars....as money pits.


 I've put only 20k miles on it since I bought it 12.5 years ago


Once out of the body shop, I got an all-around 20% tint. Now that the cosmetics were in good order, I would start to select my bolt-ons. Unfortunately I don't have much skill in wrench turning. So I had to pay shops for all the labor implied on this car. ...I hope to change that skill set in the near future.

Upgrades and maintenance.

Before I even test drove one, I planned to do the standard H22a swap. However I was surprised how much I liked the stock engine on first impression. So the swap fell by the wayside and I would just add bolt-ons to the f22a1 engine. I'm going to talk about costs throughout as I feel that would be informative for some. 

Engine:
F22a1 (135,645k miles - march '17) 
5-speed manual
ACT Streetlight flywheel
ACT H.D. pressure plate
ACT Street disc
AEM CAI w/ bypass 
Throttle body bored to 60mm with port matching 
B&M fuel pressure regulator + pressure gauge 
Balanced & blueprinted OEM injectors
AEM accessory pulleys
NRG engine damper (removed)
DC Sports 4-2-1 CC header 
Magnaflow cat-back
new OEM motor mounts 
new plugs and wires 
new cap and rotor 
new timing belt + water pump 
new fuel filter 
new throttle body gasket

Magnaflow Stainless steel Cat-back exhaust (2006 - $395)

DC Sports ceramic coated 4-2-1 header (2006 - $324)

A.C.T. H.D. pressure plate, street disc and 12 lb. Streetlight Flywheel (2006 - $578)

AEM Tru-power aluminum pulleys, alternator and power steering (2006ish - $160)

AEM cold air intake (2006ish - $207)

Hawk HPS brake pads and Motul brake fluid

Engine detail showing the fuel pressure regulator and fuel pressure gauge


Dynoed at King Motorsports
129.29 whp, 140.96 wtq


I keep this parked in my pole barn along with my Jag and my Bimmer. I keep a CTEK 3300 charger hooked up to it, as it may sit for a week, or 2, or more sometimes. I keep it locked with the alarm on. Without the charger, that would drain the battery over time. Also...It stays parked all winter (Thanksgiving to April 1st)

highly recommend this battery maintainer


Mid-March....The summer cars in hibernation.


Exterior:
new OEM rear outer quarter panels
new paint job (factory color)
new OEM side molding
OEM EX front lip
new rear Honda emblem
removed "Accord LX" emblems
4000k PIAA low bulbs
20% tint

Interior:
Stock

Suspension/Wheels:
Tokiko blue struts
HR sport springs
new front sway bar bushings
new upper control arms
new brake master cylinder
Hawks HPS high friction brake pads
TechnaFit stainless steel brake lines
Motul 600 C Racing brake fluid
(set 1) 15" x 7" matte black Rota slipstreams / Yokohama AVS ES100 195/60/HR-15 tires
(set 2) 15" 17 spoke EX rims / Falken ZE-512 195/60/HR15
(set 3) 15" '00 Accord SE rims / Falken ZE-512 195/60/HR15
(set 4) 14" x 6" OZ alloys painted white / Yokohama Aegis 185/70/R14

Audio / Electronics:
AWIA head w/ front aux input for iPod
Pioneer speakers
Clifford IntelliGuard 850 Alarm


Yokohama AVS ES100 summer tires


This car has sported several different set of wheels in the 12 years I have owned it.


Conclusion

So far, over the last 12.5 years I spent $22,130 for all parts and labor, and all other costs including the original purchase price. That would be considered a poor financial investment. However, This car still looks brand new, and is fun to drive. It turns heads all the time, and as time goes by, these Accords will be seen less and less, as they succumb to rust and old age. The only way I could get (at most 30-40% of what I spent) is to find the absolute right buyer, and that would take some doing.

If I was doing it all over again, I would buy from California (where rust is less of a problem then the southeast US, it would likely not have the bonus of a new paint job however) I would try and get my aftermarket parts off of forums ( honda-tech.com, CB7Tuner.com ) where people are parting out their projects. Therefore you could get parts for probably 50 cents on the dollar. I'd do all the labor myself (i'd have to get that skill first.) Going that route, I could get a fun car on the cheap. All the cars I have bought since, I have tweaked my approach.
Related Posts Plugin for WordPress, Blogger...