
All differential seals, and O-rings replaced, plus cosmetic restoration.
Rear differential before:

After:

This differential has been leaking fluid ever since it was installed. A mechanic years ago replaced the original diff that came with the car, for a used one, he had, saying mine had "clear signs of wear." 🙄 This one was "weeping" pretty much from day one. Not losing a huge amount of fluid, but unsightly, and leaving oil spots in my garage. I have never done any wrenching on differentials before, so here was my opportunity. I opted not to replace the bearings, as I think they were fine, and I didn't want to expand this project past what it was already.
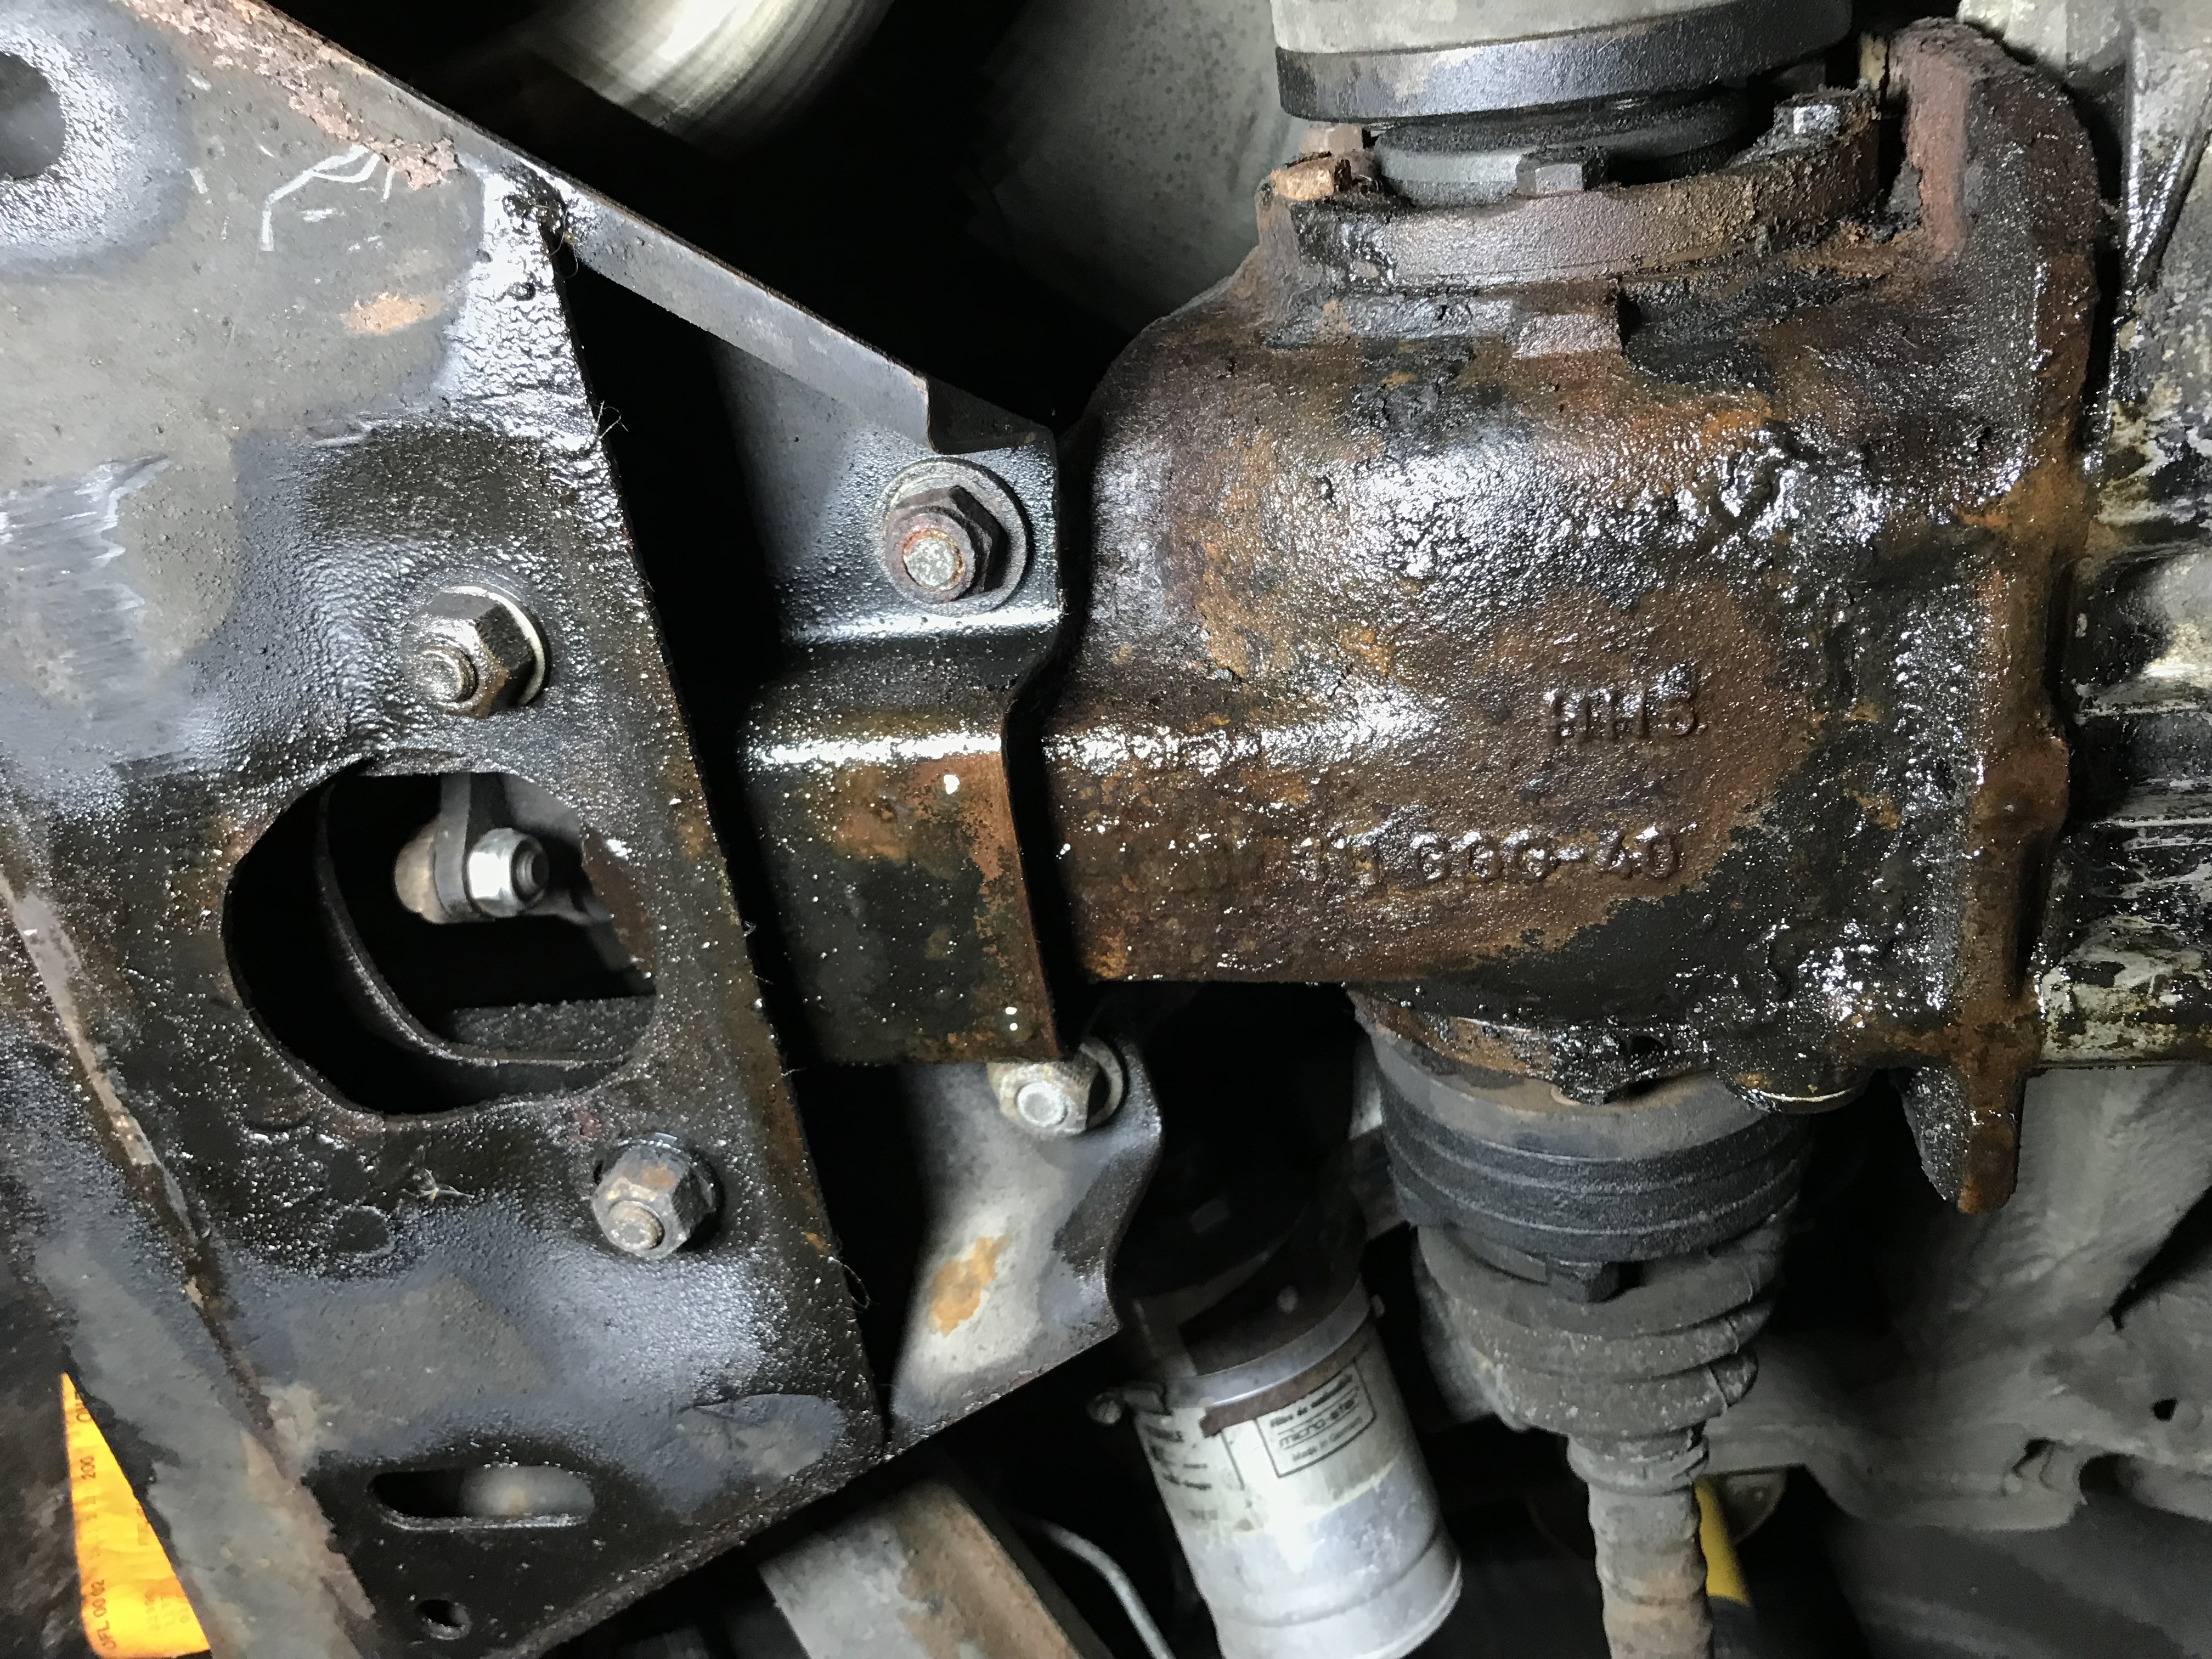
You can see how dirty, and oily, the rear axle area is, from leaks that are at the pinion seal, and both output seals. Not doing their job, after 40 years.
Differential before removal:


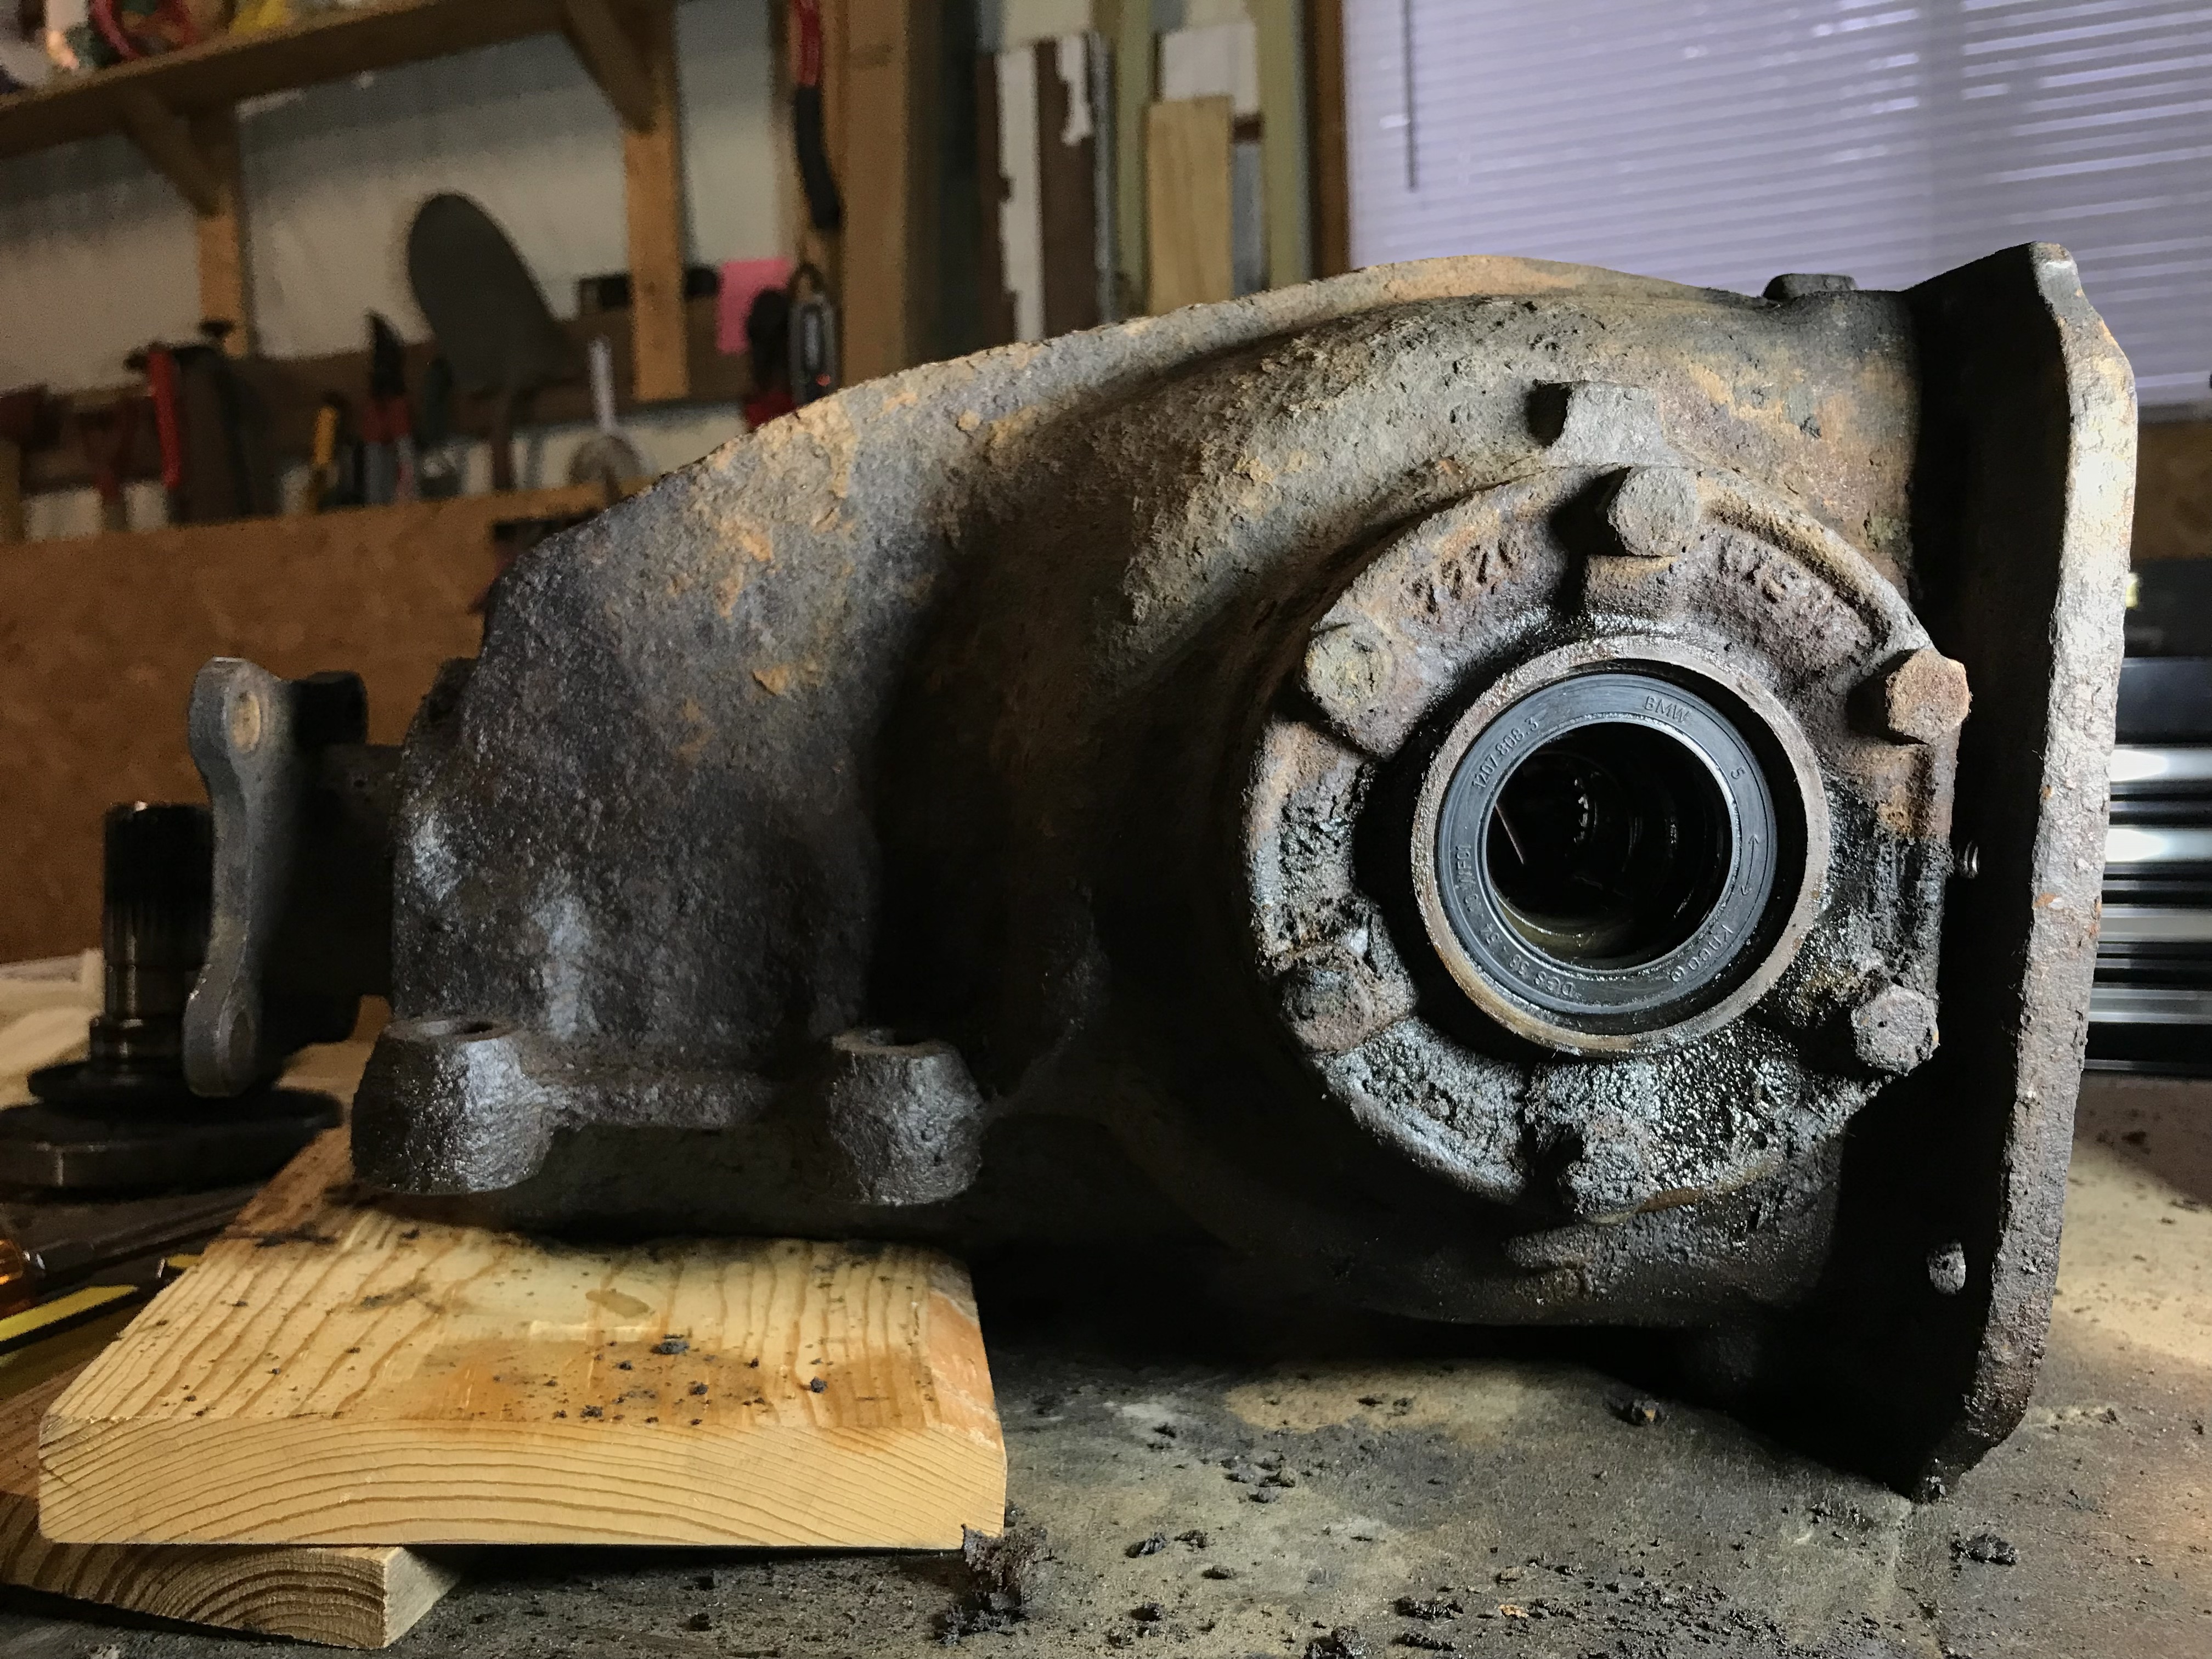
Differential out. Looking rusty, oily and dirty. I'm guessing this was NOT a California diff.


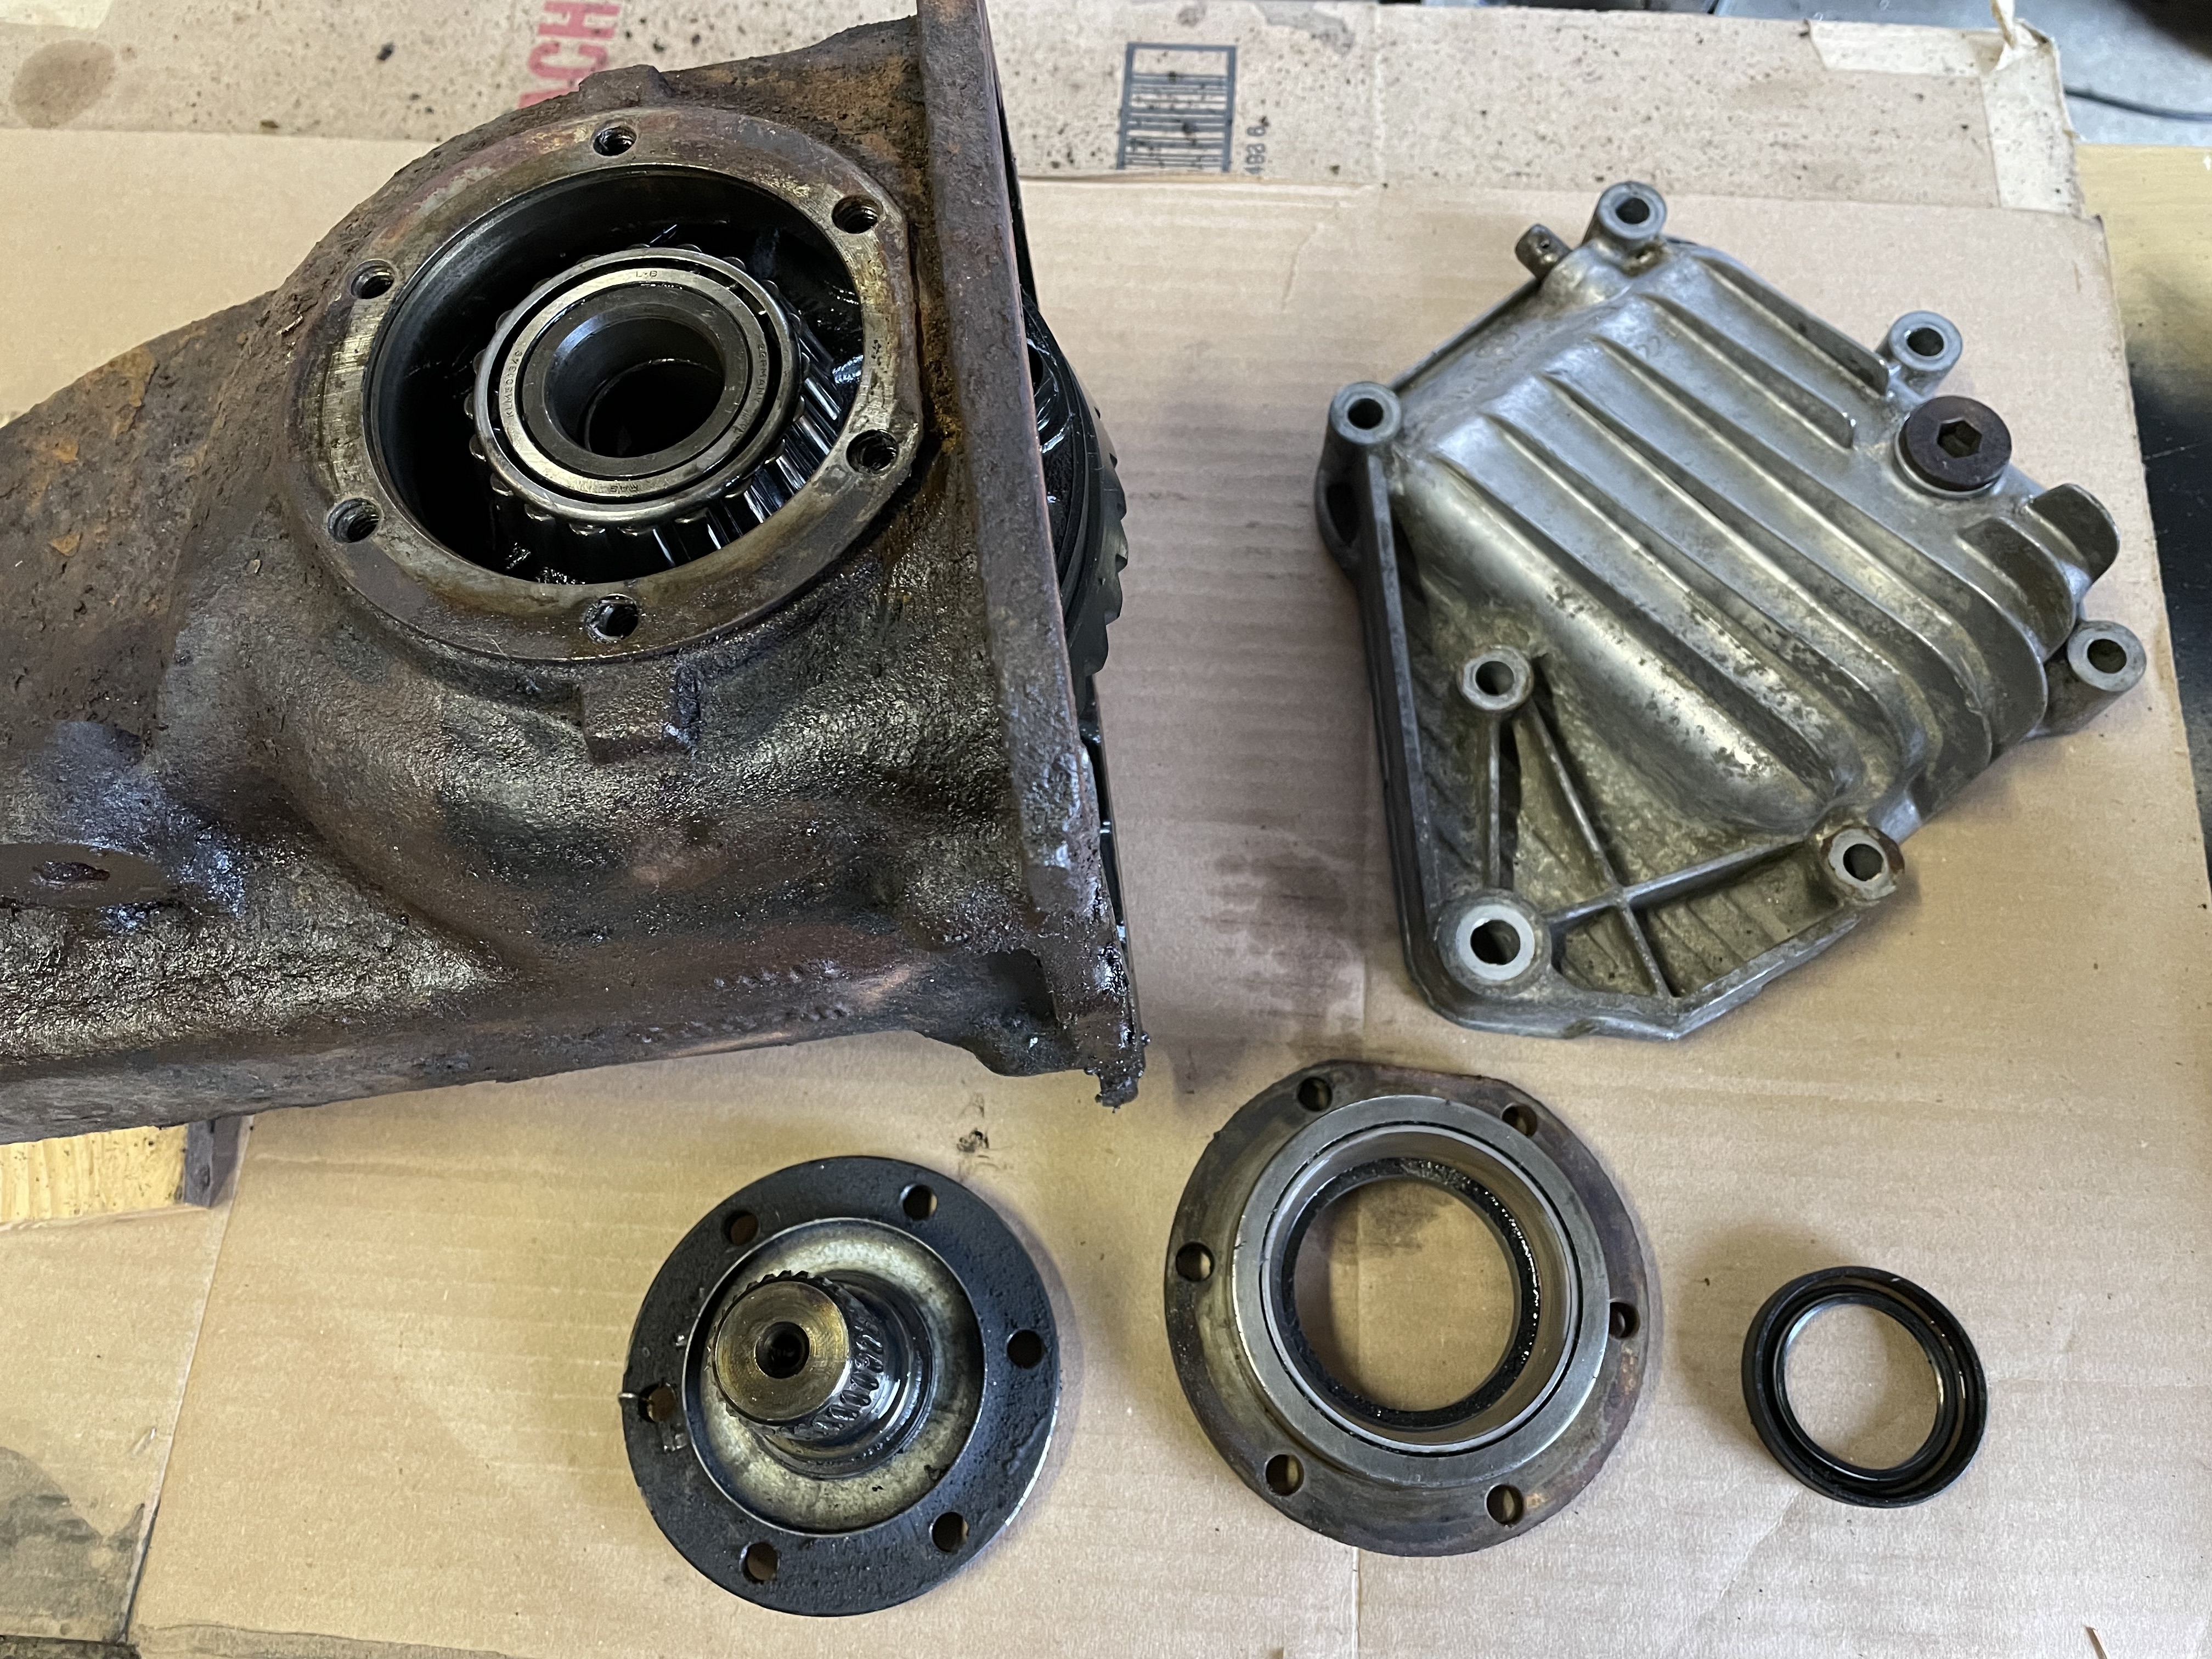
Output seal ready for removal. The output flanges pop out with a little pry bar action. They are just held in place by internal C clips. I did one side at a time, for fear of it self-combusting, if I removed too many connections between the case and the internals.
Used some HondaBond (light grey) I had lying around, to coat the outer edge of the seal before installation. Red tacky grease on the lips of the seal. The rubber O-rings also attach to these flanges.

Looking inside at the ring gears which will stay put. About to clean up the rear mating surface of the case.

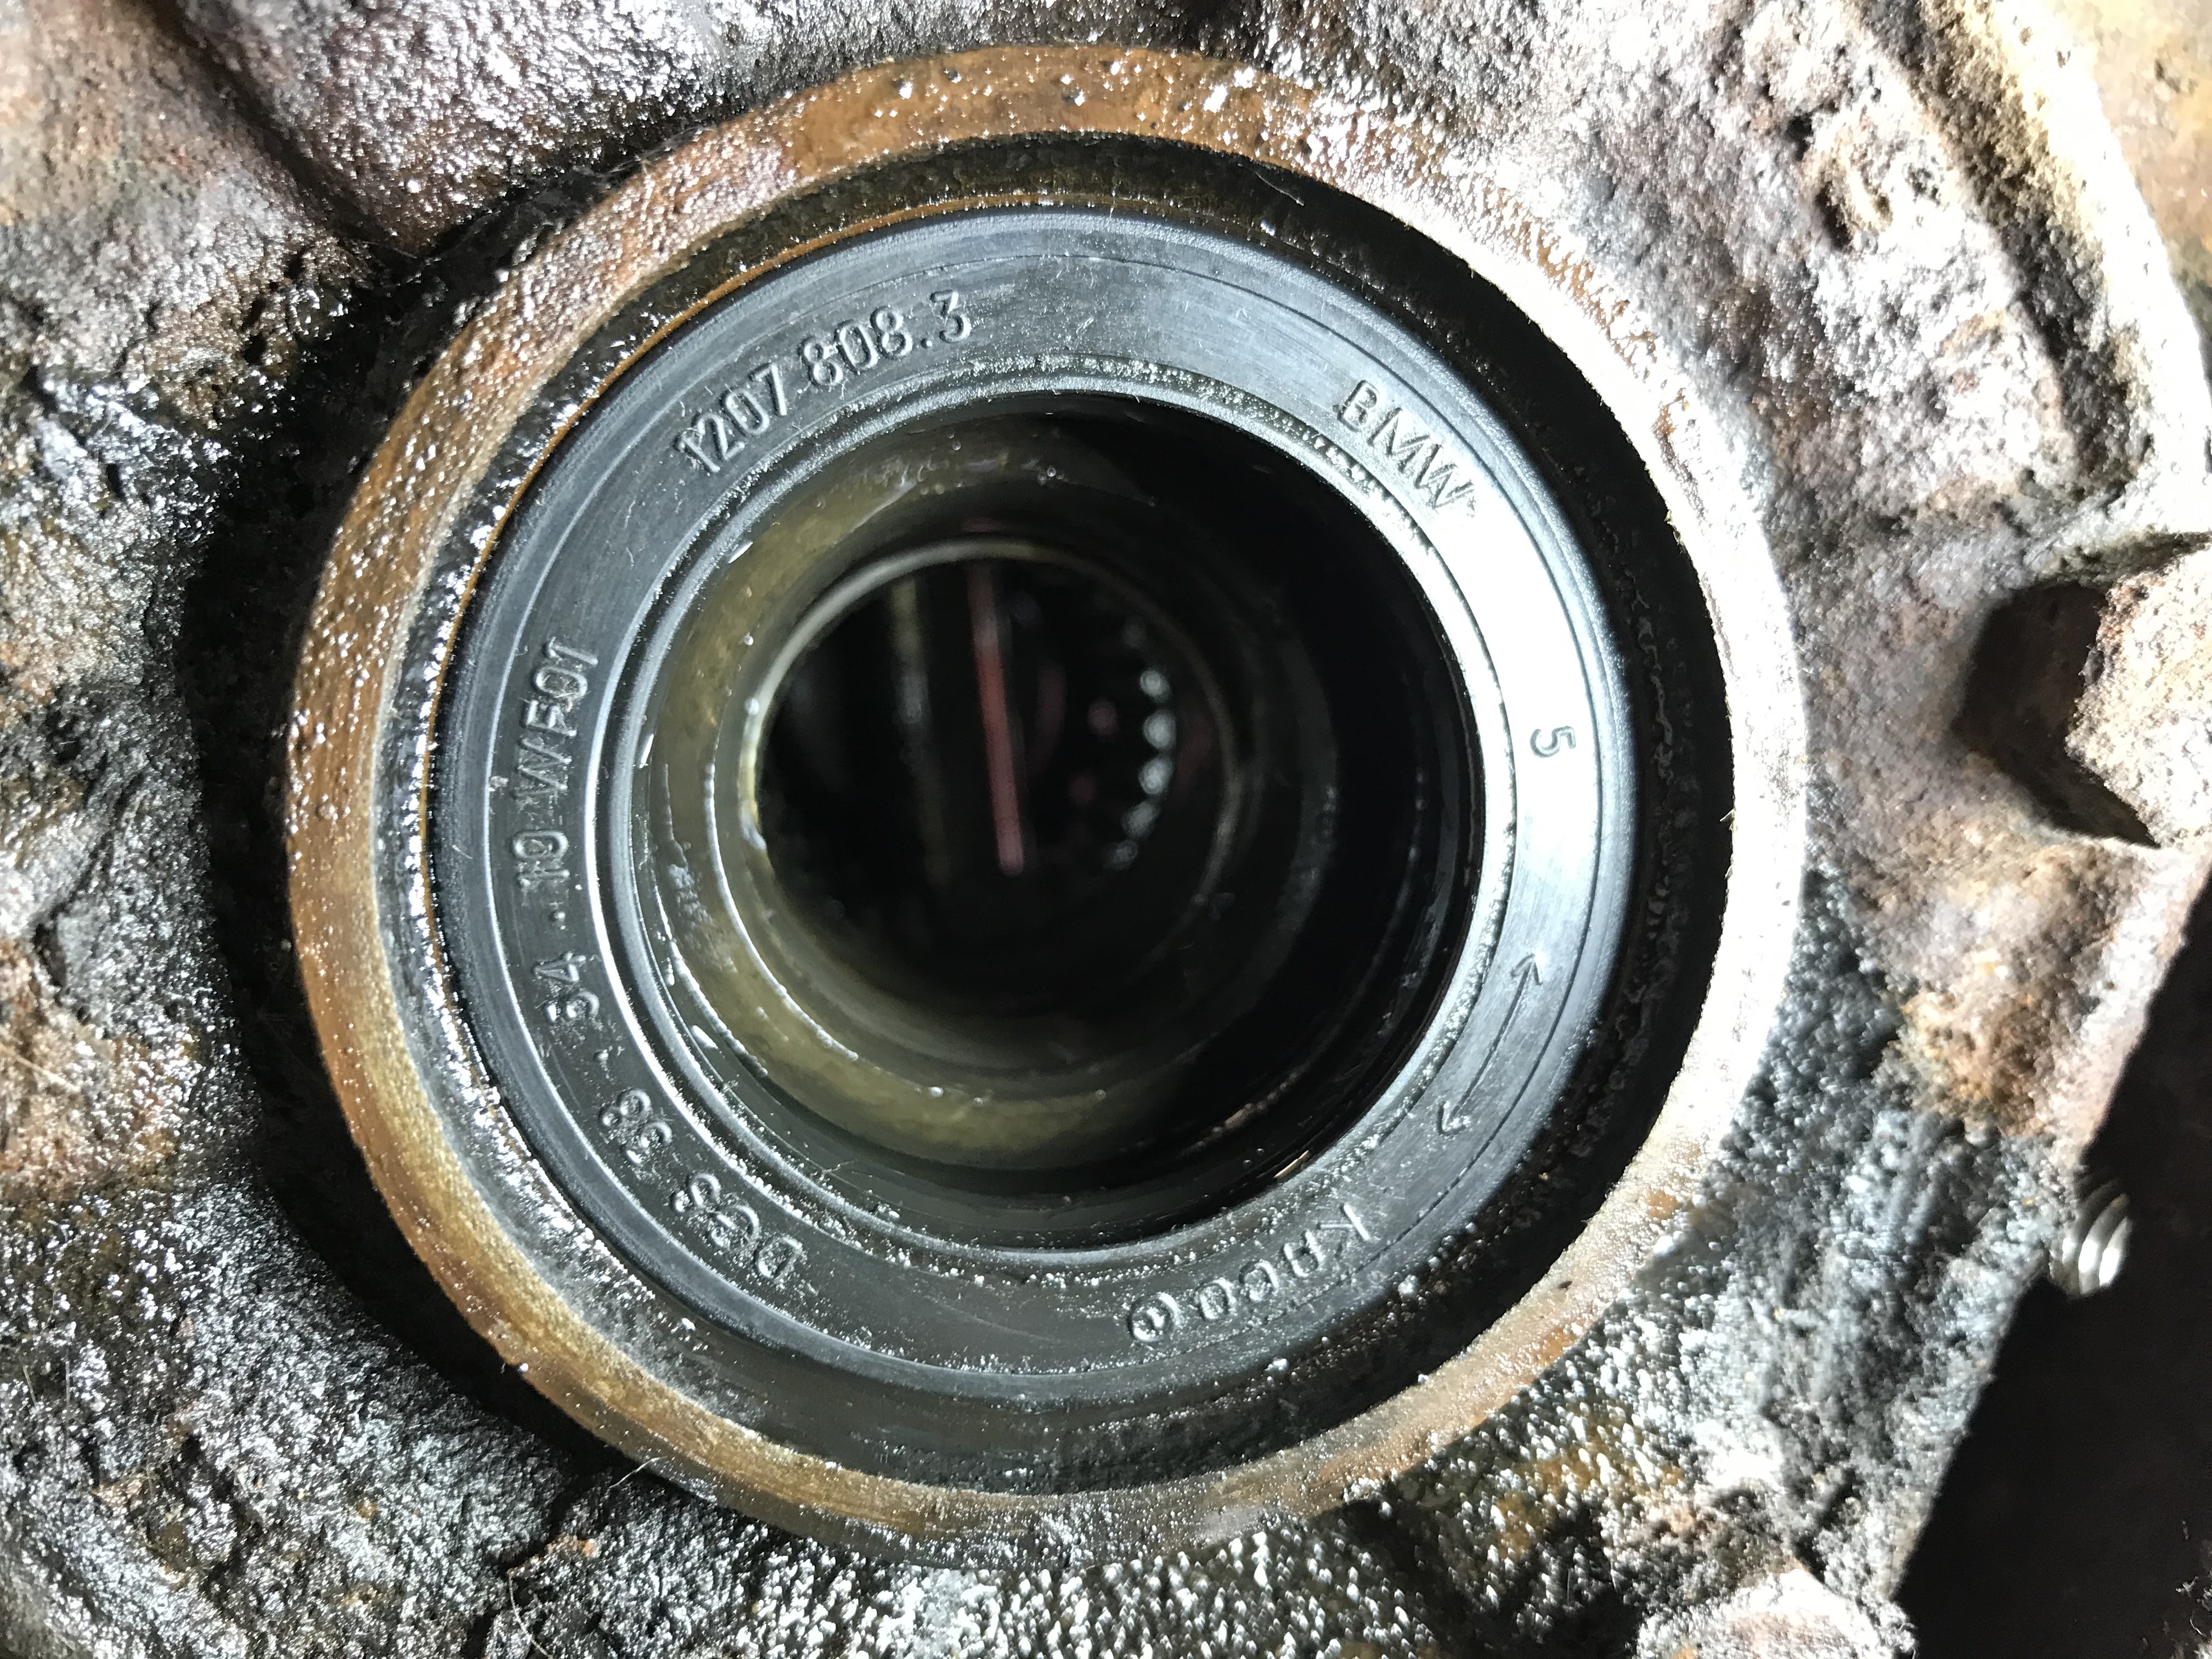
Trying to figure out how to remove the pinion seal. From the rust... I couldn't tell where the seal ended, and the housing began. This didn't want to budge after 40 years, so I bough a seal puller for about $8 and managed to work it around, and wrestle it out.
Old pinion seal:

Old seal removed:

New pinion seal in.
Coated the outer edge with HondaBond, and filled the inside recess of the seal, with red tacky grease, so the spring would not pop out, while I hammered it into place. Filled the sealing lips with red grease, that make contact with the input flange shaft.

I had the cast iron case, and aluminum rear cover, media blasted, from a company called "U-spray". Then I rattle-canned it with, Rustoleum professional primer, and gloss black/aluminum. I used a bead of Ultrablack RTV to seal up the rear cover. I replaced the 2 aluminum sealing washers (22mm I.D. 27mm O.D.) for the drain, and fill, plugs., and filled it with 1 QT. Valvoline 80W-90 Gear oil

Before:

After:

Before:

After:

Before:

After:


Installed back in the car.
I chased all the threads, everywhere, and cleaned them as best I could. I applied Threadlocker blue, to every connection, and torqued to spec. My torque wrench wouldn't fit to connect the input flange, to the driveshaft, so I had to do that with a box end, by feel.


Torque specs:
Diff rear cover: 31 to 35 ft. lbs.
Side output covers: 14.4 to 17.4 ft. lbs.
Pinion nut reinstall: just indexed, and counted threads
Fill and drain plugs (with aluminum washers): 35 ft. lbs.
Diff mounting to subframe: 62 ft. lbs.
Input flange to driveshaft: 52 ft. lbs.
Diff to hanger (all bolts): 62 ft. lbs.
Output flanges to half shafts: 23 ft. lbs.
Project cost:
Media blasting case and cover $127
Gear oil $10
Sealing washers $10
new pinion locking plate $16
New pinion seal $7
2 new output seals $20
2 new rubber O-rings about $10
Miscellaneous new bolts $10
spray paint - on hand
Permatex RTV $6
Total $216
Click here to see my original blog post about this car.

No comments:
Post a Comment